
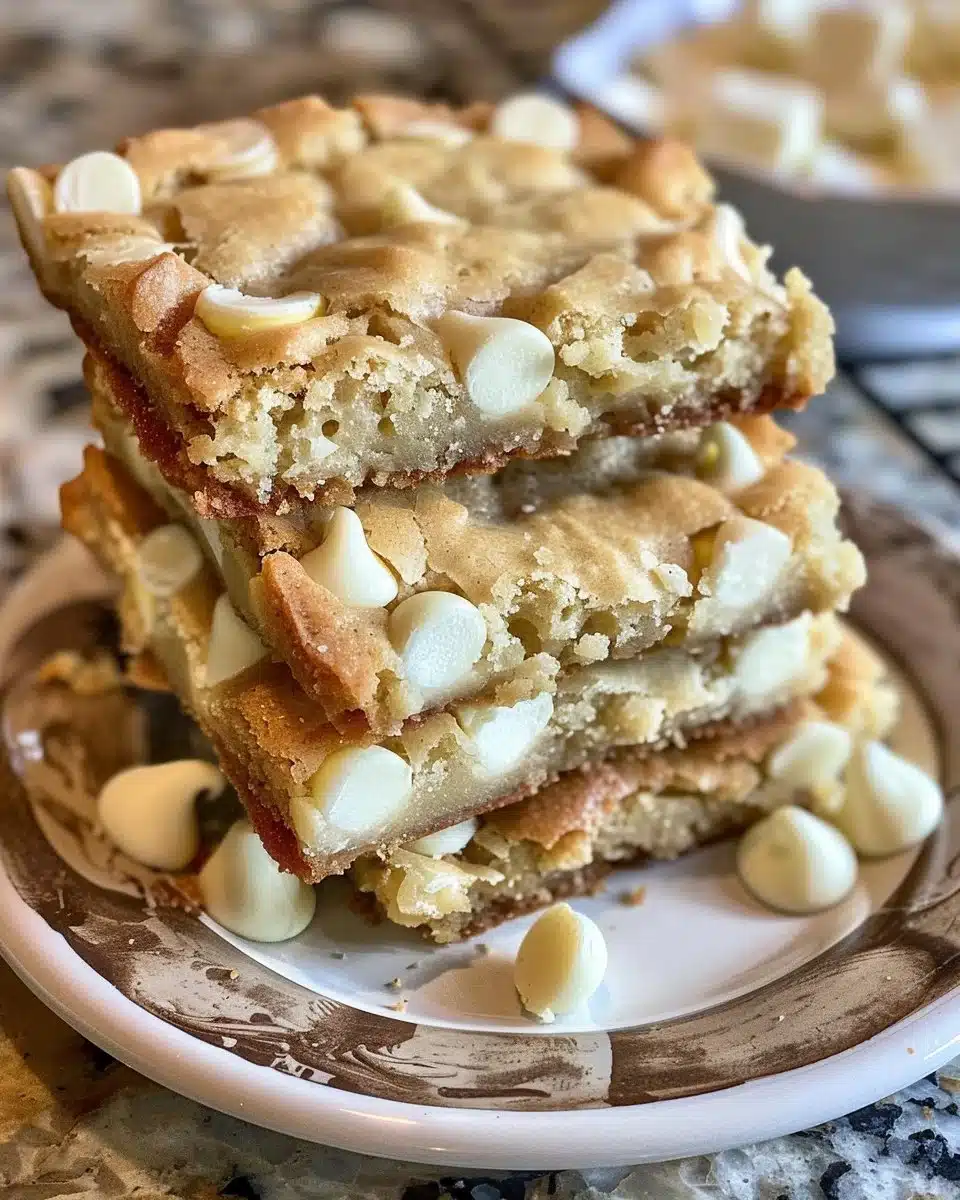
Homemade White Chocolate Brownies
introduction
Homemade White Chocolate Brownies are a sweet and delightful treat. They combine the rich creaminess of white chocolate with a chewy texture, making them perfect for any occasion. Whether you’re planning a dinner party, a birthday celebration, or just want a delicious snack, these brownies are sure to impress.
why make this recipe
Making your own brownies allows you to control the ingredients and flavors. Homemade White Chocolate Brownies offer a unique twist on the classic brownie. The combination of white chocolate and a soft, gooey texture gives a different taste experience. Plus, they are easy to make and require just a few simple ingredients!
how to make Homemade White Chocolate Brownies
Ingredients:
- 1 cup white chocolate chips
- 1/2 cup butter
- 1 cup sugar
- 2 large eggs
- 1 teaspoon vanilla extract
- 1 1/4 cups all-purpose flour
- 1/4 teaspoon salt
Directions:
- Preheat your oven to 350°F (175°C) and grease a 9×9 inch baking pan.
- In a large bowl, melt the white chocolate and butter together until smooth.
- Stir in the sugar until well combined.
- Add the eggs one at a time, mixing well after each addition.
- Stir in the vanilla extract.
- Gradually add the flour and salt, stirring until just combined.
- Pour the batter into the prepared baking pan and spread it evenly.
- Bake for 25-30 minutes or until a toothpick inserted in the center comes out clean.
- Allow to cool before cutting into squares.
how to serve Homemade White Chocolate Brownies
You can serve these brownies warm or at room temperature. For a special touch, consider adding a scoop of vanilla ice cream on the side. You can also drizzle some chocolate sauce or sprinkle powdered sugar on top for added sweetness.
how to store Homemade White Chocolate Brownies
To store your brownies, keep them in an airtight container at room temperature. They can last for about 3-4 days this way. If you want them to last longer, you can refrigerate them, which will keep them fresh for up to a week. Make sure to let them come to room temperature before serving for the best taste.
tips to make Homemade White Chocolate Brownies
- Make sure to melt the butter and chocolate over low heat to prevent burning.
- Mix the ingredients just until combined to avoid overmixing, which can make the brownies tough.
- You can add nuts, like walnuts or pecans, for some extra crunch if you like.
- Experiment with different kinds of white chocolate for unique flavors.
variation
If you want to change things up, try adding some peppermint extract for a minty flavor or swirl in some raspberry sauce before baking for a fruity twist. You could also fold in some dried fruit or chocolate chunks for added texture and flavor.
FAQs
1. Can I use regular chocolate instead of white chocolate?
Yes, you can substitute regular chocolate for the white chocolate, but this will change the flavor and color of the brownies.
2. Can I freeze the brownies?
Yes, you can freeze these brownies. Just wrap them tightly in plastic wrap and place them in an airtight container. They can be kept in the freezer for up to 3 months.
3. How can I tell when my brownies are done?
To check if the brownies are done, insert a toothpick into the center. If it comes out clean or with a few moist crumbs, they are ready. If it’s wet with batter, they need more time to bake.
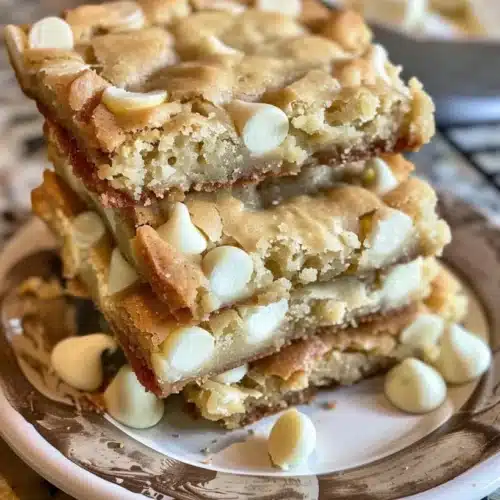
Homemade White Chocolate Brownies
Ingredients
Main Ingredients
- 1 cup white chocolate chips
- 1/2 cup butter
- 1 cup sugar
- 2 large eggs
- 1 teaspoon vanilla extract
- 1 1/4 cups all-purpose flour
- 1/4 teaspoon salt
Instructions
Preparation
- Preheat your oven to 350°F (175°C) and grease a 9×9 inch baking pan.
- In a large bowl, melt the white chocolate and butter together until smooth.
- Stir in the sugar until well combined.
- Add the eggs one at a time, mixing well after each addition.
- Stir in the vanilla extract.
- Gradually add the flour and salt, stirring until just combined.
- Pour the batter into the prepared baking pan and spread it evenly.
Baking
- Bake for 25-30 minutes or until a toothpick inserted in the center comes out clean.
- Allow to cool before cutting into squares.