
Why Make This Recipe
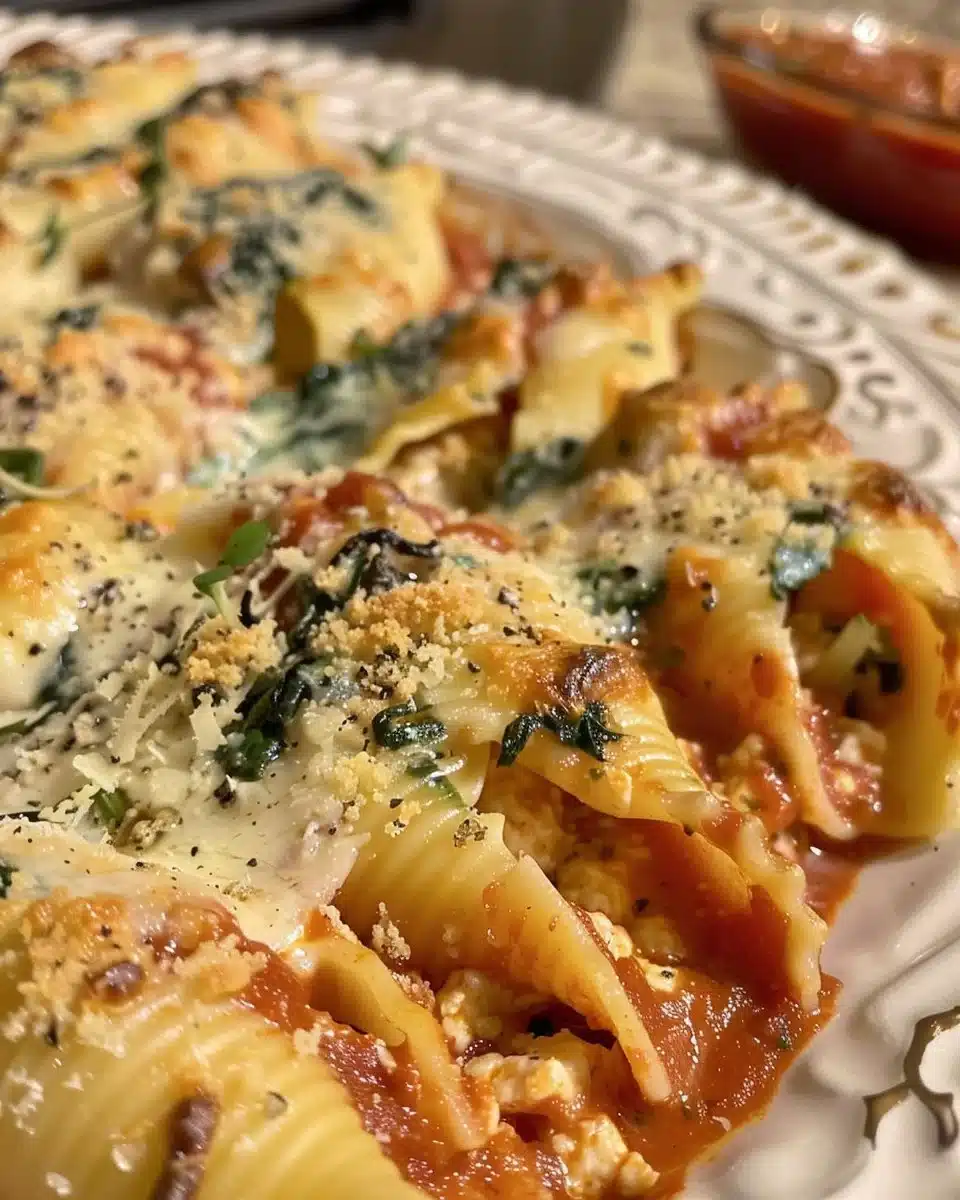
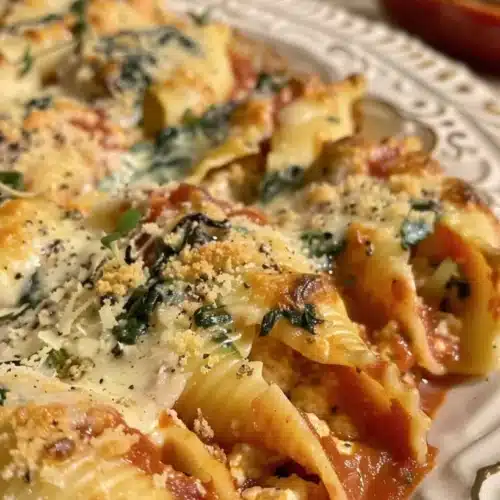
Garlic Chicken Stuffed Shells are an easy and delicious meal perfect for busy weeknights or special occasions. They combine tender pasta shells with a flavorful filling of ricotta, chicken, and spinach, topped with marinara and melted cheeses. This dish is not only comforting but also packs in protein and veggies, making it a satisfying option for everyone. Plus, it’s a great way to use leftover chicken!
How to Make Garlic Chicken Stuffed Shells
To create these tasty stuffed shells, you’ll need to follow a few simple steps. Start by cooking your pasta and preparing the filling. It’s all about mixing, stuffing, and baking! You’ll be enjoying a warm, cheesy dish in no time.
Ingredients
- 12 large pasta shells
- 1 cup ricotta cheese
- 1 cup cooked chicken, shredded
- 1 cup spinach, cooked and chopped
- 2 cloves garlic, minced
- 1 cup marinara sauce
- 1 cup mozzarella cheese, shredded
- 1/2 cup Parmesan cheese, grated
- Salt and pepper to taste
- Olive oil
Directions
- Preheat the oven to 375°F (190°C).
- Cook the pasta shells according to package instructions until al dente, then drain.
- In a mixing bowl, combine ricotta cheese, shredded chicken, spinach, minced garlic, salt, and pepper.
- Fill each pasta shell with the mixture.
- Spread some marinara sauce on the bottom of a baking dish.
- Place the stuffed shells in the dish and cover with remaining marinara sauce.
- Sprinkle mozzarella and Parmesan cheese on top.
- Drizzle with olive oil.
- Bake for 25-30 minutes, until bubbly and golden.
- Let cool for 5 minutes before serving.
How to Serve Garlic Chicken Stuffed Shells
Serve the stuffed shells hot, straight from the oven. They pair well with a simple side salad or garlic bread. A sprinkle of fresh herbs like basil or parsley on top can add a nice touch. This dish is perfect for family dinners or gatherings with friends.
How to Store Garlic Chicken Stuffed Shells
You can store leftover stuffed shells in an airtight container in the fridge for up to 3 days. To reheat, simply place them in the oven at 350°F (175°C) until heated through. You can also freeze them before baking. Just make sure to cover them well and use them within three months.
Tips to Make Garlic Chicken Stuffed Shells
- Use rotisserie chicken for a quicker option.
- Feel free to add different vegetables, such as mushrooms or bell peppers.
- Make it ahead of time and bake it just before serving for easy meal prep.
Variation
For a vegetarian version, replace the chicken with more vegetables like zucchini or mushrooms. You can also use a combination of different cheeses for the filling and topping.
FAQs
Can I make Garlic Chicken Stuffed Shells ahead of time?
Yes, you can prepare the shells in advance and refrigerate them until you’re ready to bake.
Can I use different types of cheese?
Absolutely! Feel free to mix different cheeses such as feta or cheddar to customize the flavor.
What can I serve with Garlic Chicken Stuffed Shells?
They pair well with a green salad or some crusty garlic bread for a complete meal.
Garlic Chicken Stuffed Shells
Ingredients
For the Pasta and Filling
- 12 shells 12 large pasta shells
- 1 cup ricotta cheese
- 1 cup cooked chicken, shredded Use rotisserie chicken for quicker preparation.
- 1 cup spinach, cooked and chopped
- 2 cloves garlic, minced
- Salt and pepper Salt and pepper to taste
For the Baking
- 1 cup marinara sauce Plus extra for spreading.
- 1 cup mozzarella cheese, shredded
- 1/2 cup Parmesan cheese, grated
- Olive oil For drizzling.
Instructions
Preparation
- Preheat the oven to 375°F (190°C).
- Cook the pasta shells according to package instructions until al dente, then drain.
- In a mixing bowl, combine ricotta cheese, shredded chicken, spinach, minced garlic, salt, and pepper.
- Fill each pasta shell with the mixture.
Baking
- Spread some marinara sauce on the bottom of a baking dish.
- Place the stuffed shells in the dish and cover with remaining marinara sauce.
- Sprinkle mozzarella and Parmesan cheese on top.
- Drizzle with olive oil.
- Bake for 25-30 minutes, until bubbly and golden.
- Let cool for 5 minutes before serving.