why make this recipe
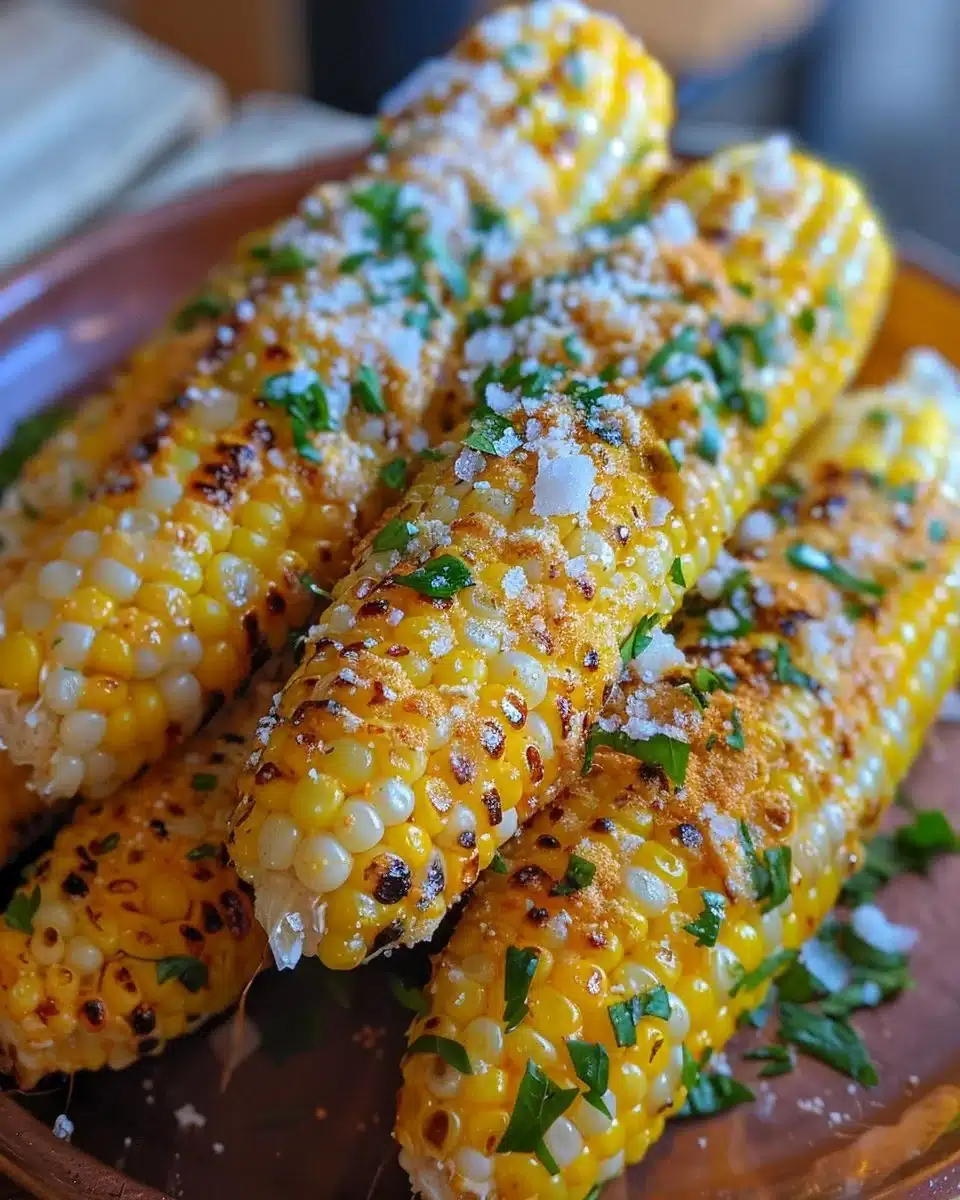
Grilled Corn on the Cob in Foil is a simple and delicious dish that highlights the sweetness of fresh corn. Cooking corn this way keeps it juicy and flavorful while making cleanup easy. It is perfect for summer barbecues or a quick side dish any time of year. This method enhances the corn’s taste while allowing you to enjoy the smoky flavor from the grill.
how to make Grilled Corn on the Cob in Foil
Ingredients :
- Fresh corn on the cob
- Butter
- Salt
- Foil
Directions :
- Preheat the grill to medium-high heat.
- Husk the corn and remove any silk.
- Cut off the ends if desired.
- Place each ear of corn on a piece of foil.
- Add a pat of butter and a sprinkle of salt on each ear.
- Wrap the corn tightly in the foil.
- Place the wrapped corn on the grill and cook for about 15-20 minutes, turning occasionally.
- Carefully unwrap and serve hot.
how to serve Grilled Corn on the Cob in Foil
Serve the grilled corn hot off the grill. You can enjoy it plain or add toppings like chili powder, cheese, or lime for extra flavor. It makes a great side dish for burgers, hot dogs, or any grilled meal.
how to store Grilled Corn on the Cob in Foil
If you have leftover grilled corn, let it cool completely. Wrap it in plastic wrap or aluminum foil and store it in the fridge. It will stay fresh for a couple of days. To reheat, you can place it back on the grill for a few minutes or use the microwave.
tips to make Grilled Corn on the Cob in Foil
- Use fresh corn for the best flavor.
- Try adding different spices or herbs to the butter for a unique taste.
- Make sure to wrap the corn tightly in foil to keep the moisture in.
- Turn the corn occasionally while grilling to ensure even cooking.
variation
You can add other ingredients to the corn, such as garlic powder, Parmesan cheese, or fresh herbs like cilantro or dill to enhance the flavor.
FAQs
Can I use frozen corn for this recipe?
Fresh corn is best, but if you only have frozen corn, you can still use it. Just make sure to thaw it first and wrap it well in foil.
How long does it take to grill corn on the cob?
It typically takes about 15-20 minutes on a medium-high grill, but cooking time may vary based on your grill and the size of the corn.
Can I cook corn on the cob in the oven instead?
Yes, you can! Wrap the corn in foil and bake it in the oven at 400°F (200°C) for about 25-30 minutes.
Grilled Corn on the Cob in Foil
Ingredients
Main ingredients
- 4 ears Fresh corn on the cob Use fresh corn for the best flavor.
- 4 tablespoons Butter Pat of butter for each ear.
- 1 teaspoon Salt Sprinkle on each ear.
- 4 sheets Foil To wrap each ear of corn.
Instructions
Preparation
- Preheat the grill to medium-high heat.
- Husk the corn and remove any silk.
- Cut off the ends of the corn if desired.
- Place each ear of corn on a piece of foil.
- Add a pat of butter and a sprinkle of salt on each ear.
- Wrap the corn tightly in the foil.
Grilling
- Place the wrapped corn on the grill and cook for about 15-20 minutes, turning occasionally.
- Carefully unwrap and serve hot.