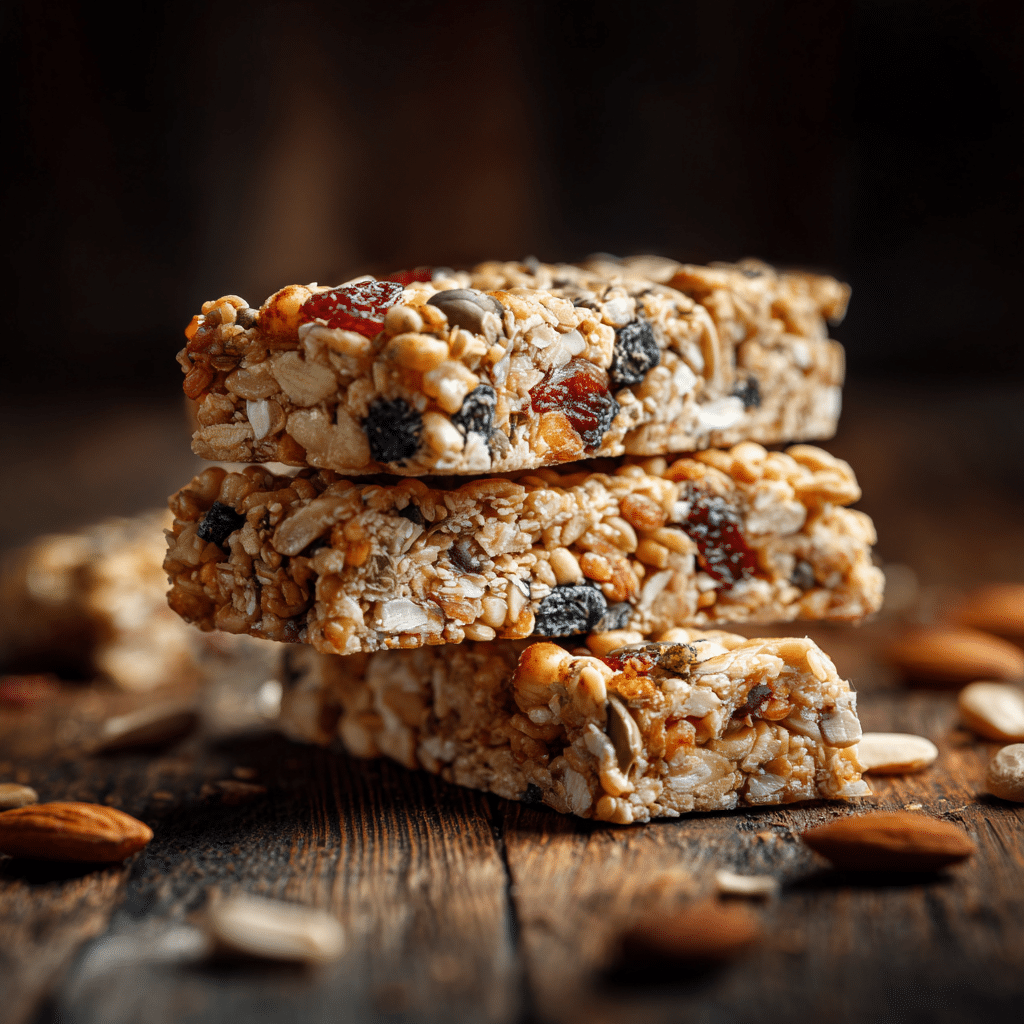

Granola bars have become a go-to snack for busy mornings, quick energy boosts, and healthy lunchbox additions. But if you’ve ever picked up a box at the store, you know the struggle: most commercial options are packed with excess sugar, preservatives, or fillers that don’t offer much real nutrition. That’s where learning a master granola bar recipe comes in. Making your own gives you complete control over ingredients, flavor, and texture, ensuring every bite is as wholesome as it is delicious. Whether you’re aiming for chewy bars, crunchy bites, or vegan-friendly versions, mastering this recipe means you can create endless variations from a single base formula. In this guide, we’ll cover the essential ingredients, step-by-step preparation, tricks to make your bars stick together, cost comparisons with store-bought versions, and expert answers to common questions. Looking for inspiration? Try our healthy homemade snack ideas to complement your granola bars.
Why I Love This Master Granola Bar Recipe
When my kids were younger, I spent way too much money trying every packaged granola bar on the shelf. Some were too dry, others too sticky, and almost none passed the lunchbox test. That’s when I began working on my master granola bar recipe—something customizable, reliable, and way more budget-friendly.
This master granola bar recipe has become part of my monthly routine. We keep batches in the freezer for school snacks, pack chewy bars in lunchboxes, and make crunchy versions for hiking weekends. I even make nut-free versions so they’re safe for classrooms. The beauty of this recipe lies in its structure. Once you know the basic ratios, you can mix and match ingredients with ease.
You’ll start with a base of oats or puffed rice, then choose a sweetener like honey or maple syrup. Add healthy fats—think coconut oil or butter—plus aromatics like vanilla or cinnamon. Then finish with mix-ins: chocolate chips, dried fruits, seeds, or coconut flakes. It’s a master granola bar recipe that blends flavor and function with total flexibility.
For more inspiration, check out these vegetarian gluten-free recipes or see how we use similar mix-ins in our chocolate peanut butter chickpea pancakes.
If you love flexible, no-fuss recipes like this, you can browse my full collection of snack boards and bar inspiration on Pinterest. I often share seasonal combos and flavor-tested favorites there.
The Mix-Ins That Make This Recipe Fun

The mix-ins are where your creativity comes alive. A master granola bar recipe should never feel boring—especially when you can turn pantry staples into something amazing.
Try some of these combinations:
| Mix-In | Flavor / Function |
|---|---|
| Dried cranberries or apricots | Sweet-tart flavor, chewy texture |
| Toasted coconut flakes | Nutty, tropical taste |
| Sunflower or pumpkin seeds | Crunch and school-safe protein |
| Mini chocolate chips | Sweetness with melty bits |
Want to switch things up? Try adding a pinch of cinnamon, cardamom, or even orange zest. With a strong base like this master granola bar recipe, you really can’t go wrong.
If you’re prepping ahead for family meals, don’t miss our family-friendly gluten-free meals and gluten-free dinner ideas for more time-saving tips.
Build It Right: Sugars, Fats & Aromatics in the Master Granola Bar Recipe
Understanding the balance of sugars and fats is what turns a random granola mash into a structured, craveable bar. The glue of any master granola bar recipe comes from sweeteners and fat—both critical for flavor, texture, and cohesion.
The Sugars: Sticky, Sweet, and Structural

Let’s talk stickiness. Sugars in your granola bars do more than sweeten—they act as binders. A solid master granola bar recipe will always include a liquid sugar (like honey, maple syrup, or brown rice syrup) because it helps hold everything together once cooled.
Here’s a quick look at your sugar options:
| Type | Properties |
|---|---|
| Honey | Sticky, floral, great for chewy bars |
| Maple Syrup | Milder bind, vegan-friendly |
| Brown Sugar + Butter | Classic combo for baked crunchy bars |
| Dates (blended) | Whole-food sweetness, great for no-bake |
For chewy bars, go with honey or brown rice syrup. For no-bake recipes, soft sugars (like dates) hold things together well if you’re aiming for fewer refined ingredients. You’ll also find a similar approach in my one-pan gluten-free meals where I favor simple, whole-food building blocks.
Fats & Aromatics: Richness and Flavor Depth

Fat adds moisture and mouthfeel. In a master granola bar recipe, the fat you choose affects the texture and shelf stability. Coconut oil adds a hint of flavor and firms up nicely in the fridge, while butter creates rich, bakery-style bars. Nut and seed butters (like peanut, almond, or sunflower) do double duty as fat and binder.
Don’t skip the aromatics—these tiny additions bring warmth, balance, and signature taste. A pinch of salt enhances every sweet element. Vanilla extract works in both baked and no-bake versions. Try cinnamon, nutmeg, or even espresso powder for added depth.
Eggs are optional but useful. In baked chewy bars, adding an egg boosts protein and helps them stay together. I use this technique often in bars made for my son’s lunchbox, where things need to stay intact even after being bounced around in a backpack—just like our gluten-free mac and cheese holds up to reheating without falling apart.
This is what sets the master granola bar recipe apart: once you understand how fats and sugars work together, you can confidently customize based on your flavor preferences or dietary needs.
I wrote more about testing syrup combinations for the master granola bar recipe on Tumblr, where I dive into kitchen experiments and ingredient swaps that actually work.
The Bulk That Builds Your Master Granola Bar Recipe

Every great granola bar needs a solid foundation. The bulk ingredients give your bars body, chew, and crunch. In a master granola bar recipe, this means choosing the right type of oats, optional cereals, and sometimes flour to help everything bind and bake consistently. The ratio of these ingredients affects texture and nutrition—so mix wisely based on what you’re going for.
For a deeper dive into ingredient science, check out my Medium article where I explain why puffed rice and oat flour matter more than most home cooks realize.
Oats & Cereals: Your Base Matters
Rolled oats are the gold standard in most granola bar recipes. They’re hearty, absorb moisture well, and toast beautifully when baked. But not all oats are created equal. Here’s how to pick the best option for your goal:
| Oat Type | Best For |
|---|---|
| Old-fashioned Rolled Oats | Chewy and baked bars |
| Quick Oats | No-bake bars or finer texture |
| Oat Flour | Binding & structure, often paired with eggs |
You can also add puffed rice cereal for crunch and lightness. It’s especially helpful in baked crunchy bars because it prevents them from becoming too dense. Use crisp rice varieties for texture that doesn’t fade, even after a few days in a lunchbox.
When I make a large batch for my family, I often use a mix of old-fashioned oats and puffed cereal. This combo is what gives the bars in my easy gluten-free sides that ideal balance—sturdy but not heavy.
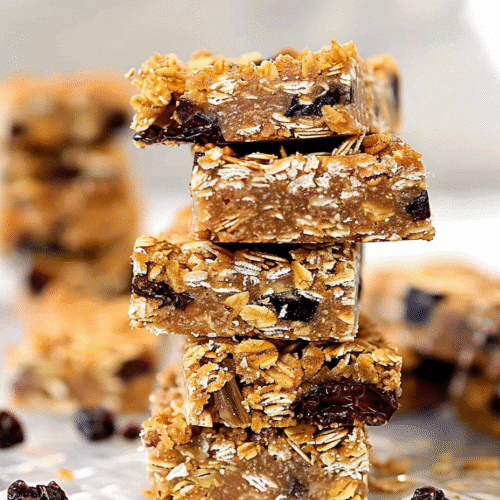
Chewy, Crunchy, or No-Bake: The Texture Game
Once you understand your base, it’s time to choose your texture. The master granola bar recipe can lean chewy or crunchy depending on ratios and cooking technique.
For chewy granola bars:

- Use more syrup or honey.
- Include nut butter for softness.
- Stick with rolled or quick oats only.
- Press the mixture firmly and refrigerate.
For crunchy granola bars:

- Bake the mixture with less sugar and fat.
- Add puffed rice and chopped nuts.
- Use a little oat flour or egg for structure.
- Press tightly and bake at a low temperature until golden.
These bars are great for bulk prepping, especially if you’re feeding hungry teens or heading into a busy week. They’re just as helpful as my steak chimichurri and bean salad when it comes to make-ahead meal planning.
The No-Bake Version of the Master Granola Bar Recipe

If you’ve been avoiding granola bar recipes because turning on the oven sounds like too much effort, this part is for you. The no-bake method uses heat only to warm and mix the sugars and fats—no baking required. Once you get your mixture to the right stage, it sets beautifully in the fridge and stays firm at room temperature. This version of the master granola bar recipe is fast, flexible, and super convenient.
How to Make No-Bake Granola Bars That Stick
One of the biggest questions I get is: “How do I make my granola bars stick together?” The answer lies in your sweetener blend and temperature. You’ll gently heat a mix of liquid sweeteners and fat (like honey and nut butter or maple syrup and coconut oil) until just bubbly—around 235°F to 240°F, known as the soft ball stage in candy making. A thermometer isn’t required, but it helps get perfect texture every time.
For an ultra-reliable hold:
- Use brown rice syrup for the strongest binding.
- Combine with nut butter for structure and flavor.
- Stir in oats, puffed cereal, and mix-ins once the syrup is hot.
- Press the mixture into a lined pan and chill for at least 2 hours.
If you’re making lunchbox-friendly versions, just skip the nuts. Use sunflower seed butter and toss in dried fruit or seeds instead. These work great for nut-free schools—and they’re a favorite in my house alongside our family-friendly gluten-free meals.
Want quick recipe reels and no-bake bar ideas in under 30 seconds? I post regularly over on X (formerly Twitter) with easy kitchen wins and snack-building shortcuts.
Flavor Variations and Final Tips

With this no-bake base, the options are endless. Think cranberry-orange with sunflower seeds, or peanut butter chocolate chip with a pinch of sea salt. You can even make a cookie-inspired version with vanilla, cinnamon, and raisins. Want more texture? Stir in shredded coconut or flax seeds. Want extra sweetness? Fold in chopped dried mango or mini marshmallows.
Here’s a simple flavor guide:
| Flavor Profile | Recommended Mix-ins |
|---|---|
| Classic PB&J | Peanut butter, dried strawberries, chia seeds |
| Nut-Free Choco-Chip | Sunflower seed butter, maple syrup, chocolate chips |
| Tropical | Coconut flakes, pineapple, mango, lime zest |
If you love hands-off snacks with big flavor, this version is as essential as our gluten-free dinner ideas and one-pan gluten-free meals—both designed for simplicity and success.
FAQs
What is the best binder for granola bars?
The best binder depends on the texture you want. For chewy bars, honey or brown rice syrup works well. Nut butters also help bind and add richness. For no-bake bars, combining nut butter and syrup is the most effective way to hold everything together.
How do I make my granola bars stick together?
Heat your sweetener to the soft ball stage (235–240°F) before mixing in dry ingredients. Then press the mixture very firmly into the pan using parchment paper. Chill for at least 2 hours before cutting.
Is it cheaper to make your own granola bars?
Absolutely. Homemade granola bars cost significantly less per serving than store-bought ones, especially if you buy oats and mix-ins in bulk. Plus, you skip preservatives and tailor flavors to your needs.
Should you soak oats before making granola bars?
Not for this recipe. Dry oats are best—they absorb moisture from the sweetener and hold structure. Soaked oats can make bars mushy and hard to cut.
Table of Contents
Master Granola Bar Recipe (Chewy, Crunchy & No-Bake Options)
Equipment
- small saucepan
- mixing bowl
- wooden spoon or spatula
- 8×8 inch baking pan
- parchment paper
Ingredients
- 2 cups rolled oats or puffed rice cereal
- 1/2 cup nut butter or seed butter
- 1/3 cup honey, maple syrup, or brown rice syrup
- 1/4 cup melted coconut oil or butter
- 1 tsp vanilla extract
- 1/4 tsp salt
- 1 tsp cinnamon (optional)
- 1 cup mix-ins (chocolate chips, seeds, dried fruits, etc.)
Instructions
- In a small saucepan, combine nut butter, syrup, and coconut oil. Heat gently until bubbly (235–240°F), then stir in vanilla, salt, and cinnamon.
- In a large bowl, combine oats or puffed rice cereal with desired mix-ins (chocolate chips, seeds, dried fruit, etc.).
- Pour the hot mixture over dry ingredients and stir until evenly coated.
- Press mixture very firmly into a parchment-lined 8×8 pan. Use the back of a spoon or another pan to compact tightly.
- Chill in fridge for at least 2 hours before slicing into bars.